Send messages to many clients at once... in style!
This is a great add-on if you want to send email messages about an event or products, to a selection of followers.
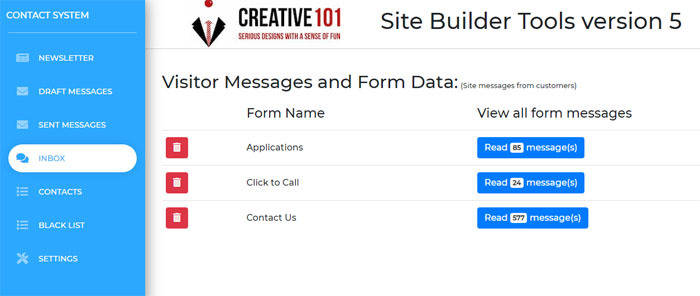
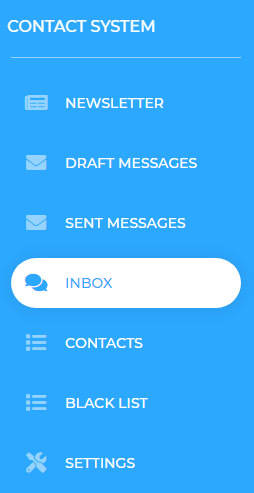
Choose the 'message' button from the dashboard. If you have this feature in your plan, you will see more than just an 'inbox' on the left side of your screen.

From the menu below, choose the 'draft messages' button on the left side panel.

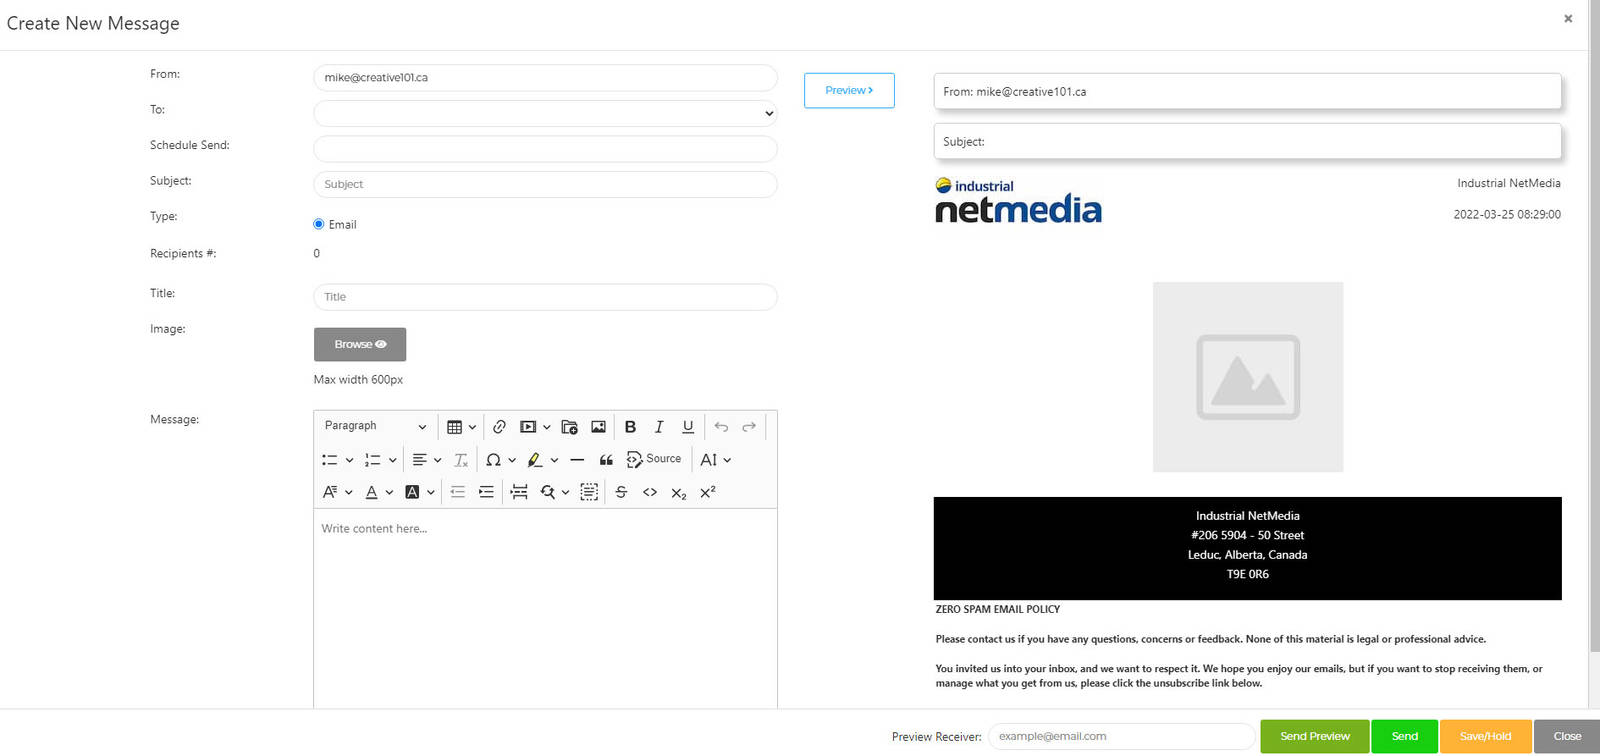
Now, you can see options for 'new message' or 'send queued messages'. Click the 'new message' button to get a pop up to create your message.

This window will look similar to the newsletter message panel.
The 'To' field, will allow you to choose from your email lists.
You can 'schedule' when you would like it to send.
Enter the subject and title fields, choose and image if you like and then start building your message.
Click the 'preview' button in the middle to see how your message will appear.

When you have finished your message, you can enter YOUR email in the field at the bottom right and choose the green 'send preview' button. This will send ONLY YOU, a copy of your message so you can ensure that it will look the way you want it to.
The yellow 'save/hold' button should be used OFTEN during your message creation, to save your changes. The green 'send' button is to immediately send the message to the list of recipients you chose, when you are sure it's good to go.
At the main blue side panel, there is a 'sent messages' button. This is to check whether your message has sent. You can edit, duplicate or delete them, as well.
More about the side panel...

Newsletters: visit this page.
Contacts: This is where you'll see anyone subscribers or you can create email lists of contacts you already have.
Blacklist: For email addresses that may be considered as spam. Instead of deleting them, you can put them in here so they can't add themselves again.
Settings: You can change your incoming or outgoing email address, as well as the logo you want to appear on anything that goes out. (newsletters or emails)