Managing Your Online Store with Industrial NetMedia
This user guide provides step-by-step instructions for managing products and categories on your website using Industrial NetMedia’s store feature.
Accessing the Dashboard
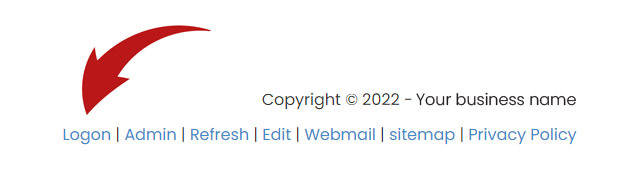
1. Log into your website to access the dashboard. You can find your logon access at the bottom of your website.
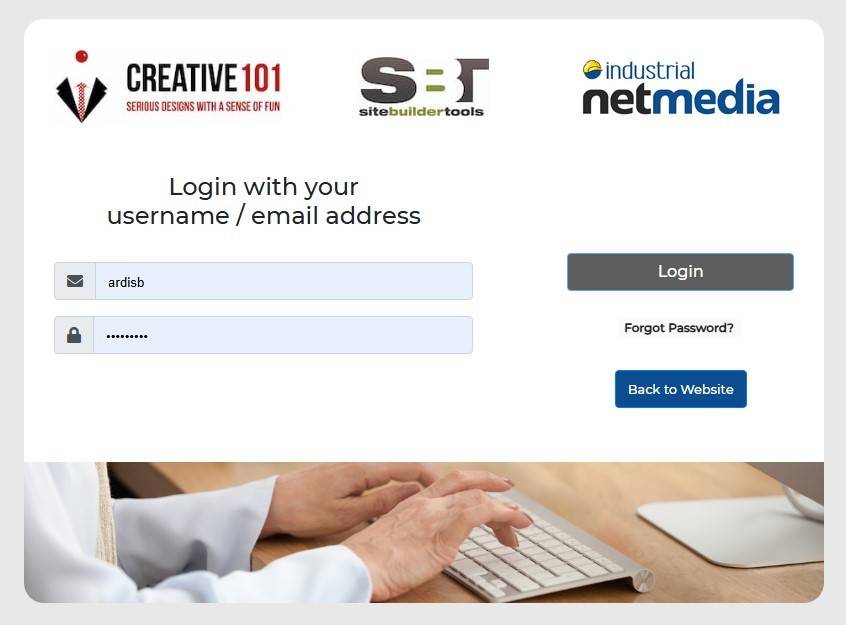
Once you get to this screen, you can log on with your username (typically, your email address) and password or choose 'forgot password' to create a new one.
Managing Categories in My Store

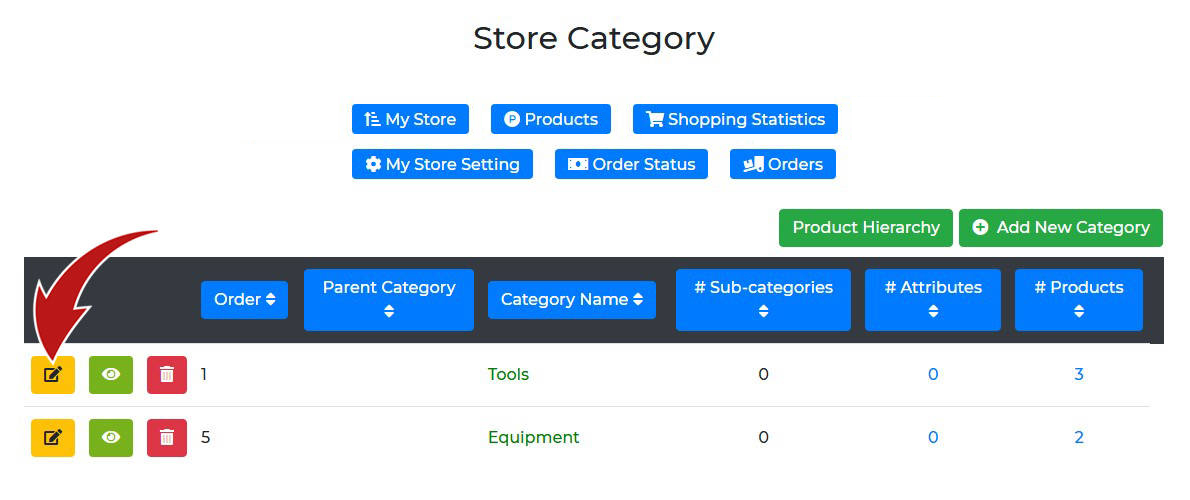
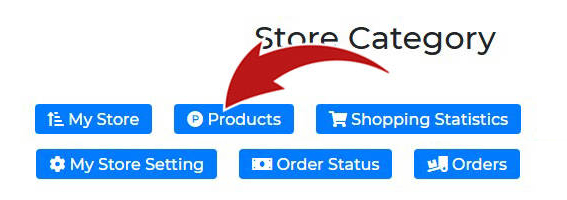
1. Navigate to the 'My Store' section to view your list of categories.
2. To edit a category, click the yellow ‘Edit’ button next to the category.
3. On the edit screen, you can:
- Change the category photo
- Update the description
- Add attributes
4. Once all changes are made, click the blue ‘Save Changes’ button.
Managing Products
1. Navigate to the 'Products' section.
2. To edit a product, click the yellow ‘Edit’ button next to the desired product.
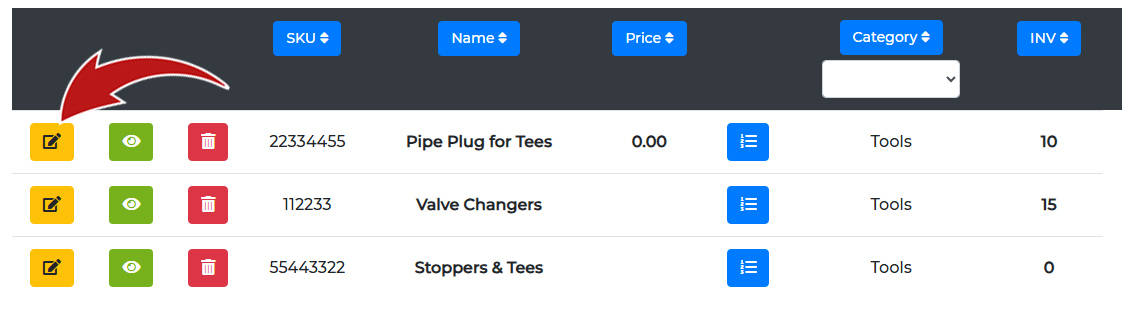
3. You can update:
- Product name
- SKU
- Display order
- Price
- Inventory
- Images
- Description and descriptive images
4. Click ‘Save’ when finished.
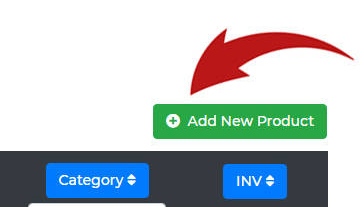
5. To add a new product, click the green ‘Add New Product’ button.
6. Fill in the product details and select a category using the blue ‘Add Category’ button.
7. Click ‘Save Changes’ when done.
*Multiple products spreadsheet
If you have a spreadsheet of products, we can supply you with a formatted excel file.
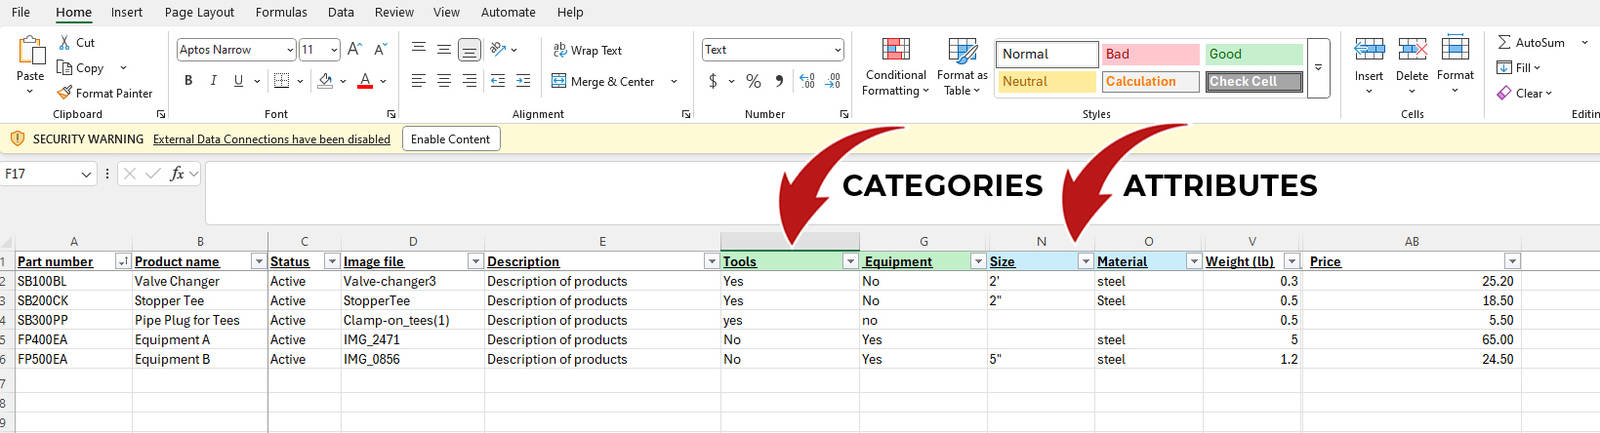
The columns need to match these so the import will go smoothly. You can even include the image file name and that will be imported, as well.
Part number: This is for your SKU or product ID.
Product name: Enter the name of your product here. It should be unique.
Status: This indicates whether the product is active or not.
Image file: Most customers want to see images of what they want to buy so you can enter the 'full file name' (no extension) here and it will upload with the information. Save a lot of time if you have many products.
Categories: You can have as many categories as you need. You would name each column for that category and put each product in their categories by placing a 'yes' or 'no'. It can't be left blank. You can even have a product in multiple categories, if needed.
Attributes: These are optional. If you choose to have a filtering aspect to your store, this would work for you. Place the names of each attibute at the top and then the variable goes in the appropriate column for the product.
Weight: This is optional. If you do not need this for your product, we can remove that column.
Price: This is optional, as well. If you want a customer to 'contact you for quote' and not have a payment portal, you can opt out of this column.
Once you have the form ready with all your products and images, we will upload it to your website for you. You will be able to edit each product once the import has been done.
For more details, please speak to one of our team members.
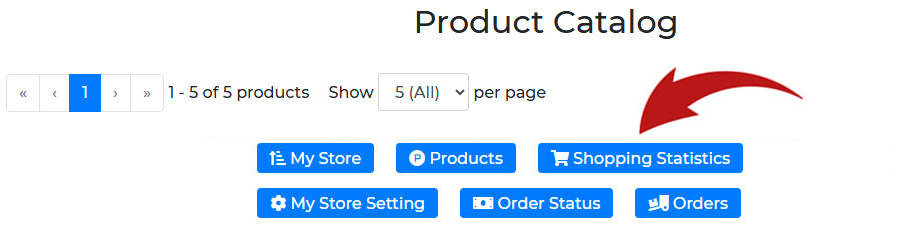
Viewing Shopping Statistics
1. Use the ‘Shopping Statistics’ section to view customer activities and interactions within your store.
Store Settings
1. This section contains the current configuration for your store.
2. Contact Industrial NetMedia if you need to make any changes.
Order Status Terms
1. Use the ‘Order Status’ section to add or remove order status terms.
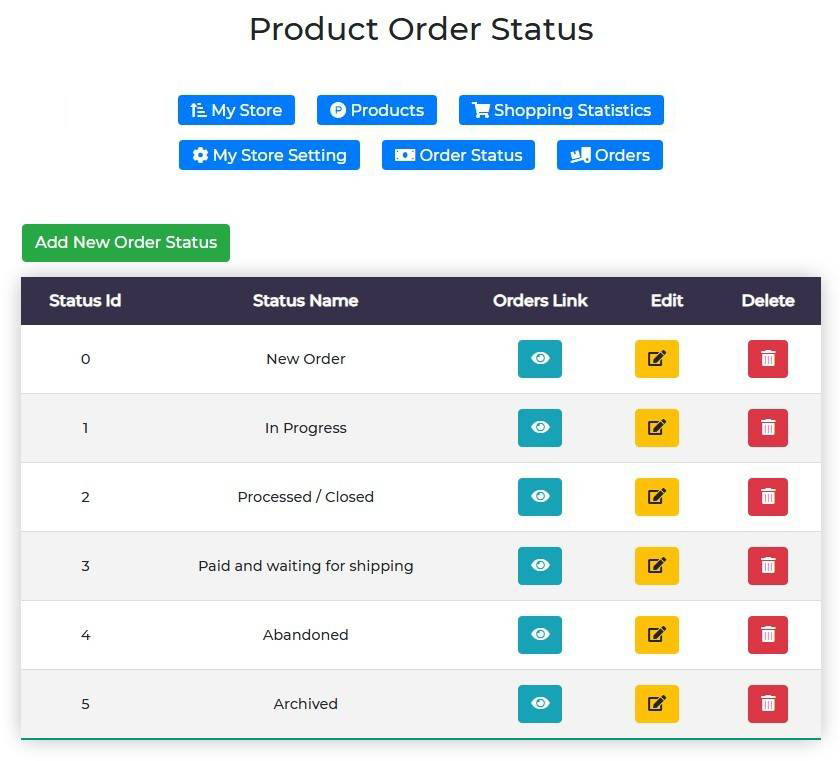
2. These terms can then be applied on the Orders page.
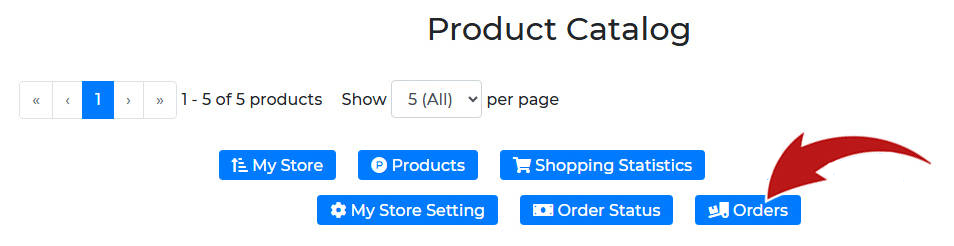
Managing Orders
1. Go to the ‘Orders’ section to view placed orders.
2. Click on 'view' to see the order itself.
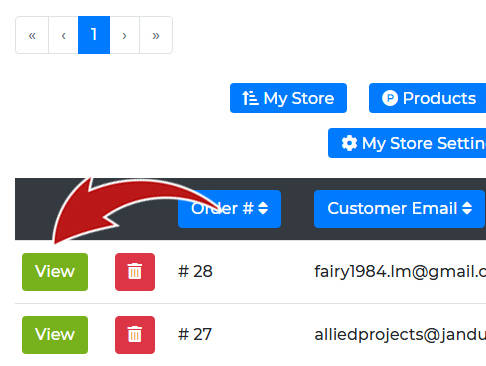
3. You can update the status of each order at the top of the order’s page.
4. If shipping is required, you can also print a shipping label from this page.
For further assistance, please contact the Industrial NetMedia support team.