Everything You Wanted to Know About Site Settings*
*But were afraid to ask...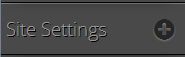
Clicking the + icon on the Site Settings button will initiate a drop-down menu that looks like this:
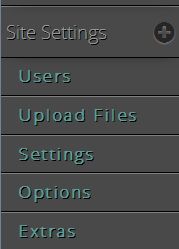
Below is an explanation of what each of those buttons is for.
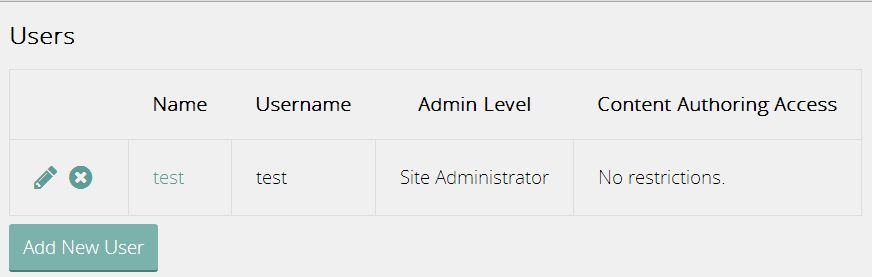
The Users button will connect you to a page that will allow you to add and delete people who will be updating your site and modify the administration level and authorizations they should have. As in all SiteBuilder programs, the ![]() icons are for editing and deleting the line they appear in.
icons are for editing and deleting the line they appear in.
Here is a glimps of what the User page looks like:
The next button down on the left-side menu under Site Settings is the Upload Files button.
When you activate the he Upload Files button, you can import files into your website's file storage display area which will allow you to put the file contents onto the webpage(s) of your choice. It works exactly like the photo uploader which is explained in detail here.
Further down the menu is another useful button which connects you to the Settings page.
The settings area is the central hub for adjusting the features of your site. It is a large page with many options, such as, changing the name of your blog, changing the Google map of your site and many others. Most of these settings will be put in by the web designers at INM and never changed again and you needn't worry about them. Each of the settings, however, are explained
so we are giving it it's own page.