Adding and Editing Pages on Your Site
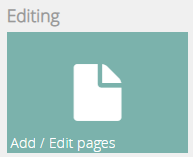
This tab on your dashboard starts it all.
The Next Step to a New Page
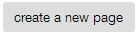
After accessing the "Add/Edit Page" tab in the Dashboard, the next step is to click on this button:
This will cause a pop-up window to display which needs filling out. The window will look like this:
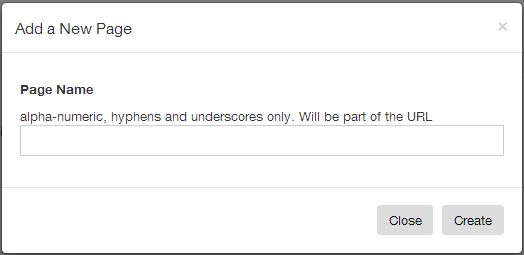
As you can see, you may name the page anything you wish, as long as you follow the instructions regarding the types of characters which are usable. For this guide, we will create a page called "Media Links" which can host links to instances where our company has made the news.
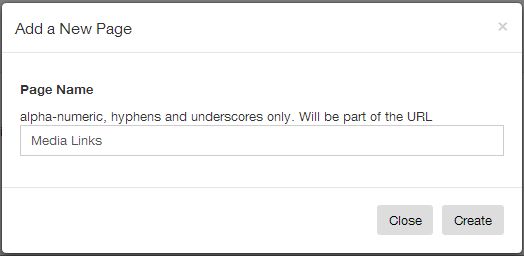
Once you have put in the name of the page, press the "Create" button to go to the next step. This will create a new line in the lower box of the outline display.
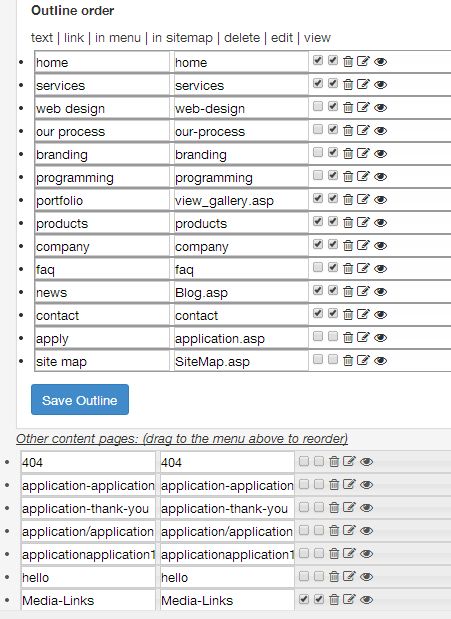
Please note that any new page which is created will always be put in the "Other Content Pages" box first, for you to move where you want after. We have checked the first two boxes besides the page link so the new page will appear in the Menu and the Sitemap.
To move the new page into the active outline area and out of the "Other Content Pages" section, simply put your cursor on the line after the five page options (in menu | in sitemap | delete | edit | view), then click and drag it up to the Outline area. Placing the "Media Links" page after "Portfolio" might be a good spot for it.

Changing Page Order
Just as we moved the "Media Links" page up into the active area, you can change the order of all your pages just as easily, simply by clicking on the space after the set of five icons and dragging it to the position you want.
What the 5 Icons Beside the Page Name and URL Name Do For You
![]()
text - This is the name of the page in the Sitemap; "home" in this example.
link - This is the name of the page as it will appear in the URL; the second "home" in this example.
in menu - Putting a check-mark in this field will cause the page to appear in the Main Menu on every website page.
in sitemap - Applying a check-mark to this square will allow the page to appear in your Sitemap.
delete - Caution! Clicking the trash-can icon will delete the page from your outline permanently. If you want to remove it from your live site but still be able to retrieve it for reuse later, just move the Item into the secondary list known as "Other content pages"
edit - Accessing this button will bring up the page in edit mode allowing you to change the content.
view - This button will take you to the public view of the page to see what everyone else will be looking at.
I Created a New Page! Woohoo! Ummm.... Now What?
Before you take another step, it is important to click the "Save Outline" button to save the changes you made to the outline.
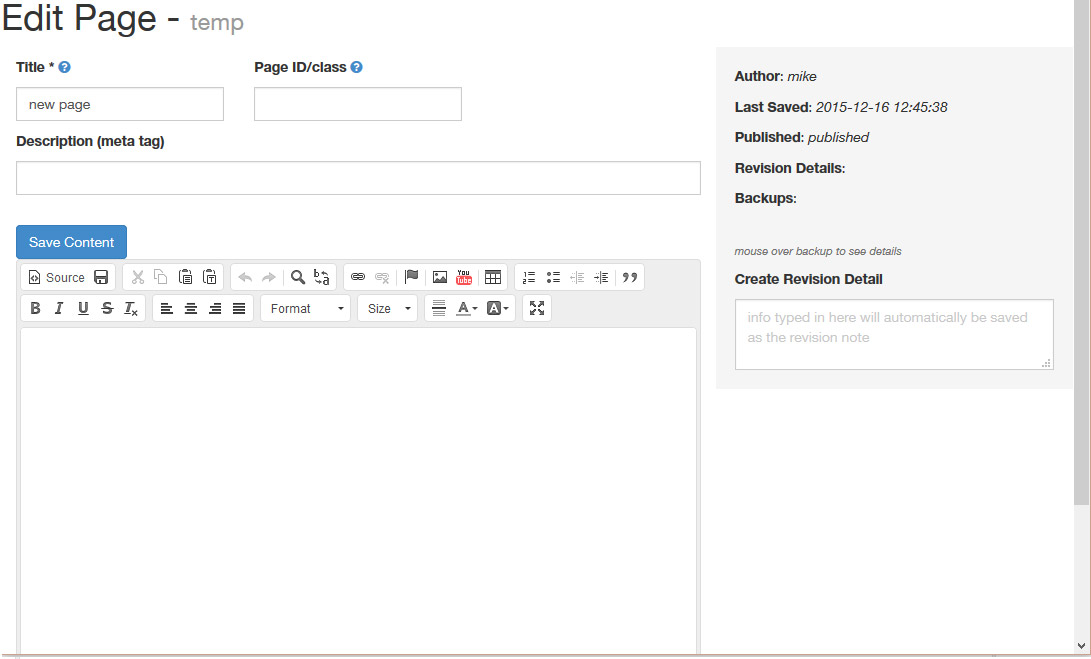
Now that you have added a new page to your outline and saved it there, click on the fourth icon, ![]() which is the "edit" button. This will take you to a page where you can add text, images, ads, videos, links, social media buttons and other features you wish. You are only limited by your own creativity. Below is what the editing page will look like. Clicking the image will take you to the next step, "How To Edit a Webpage".
which is the "edit" button. This will take you to a page where you can add text, images, ads, videos, links, social media buttons and other features you wish. You are only limited by your own creativity. Below is what the editing page will look like. Clicking the image will take you to the next step, "How To Edit a Webpage".